Showing posts with label Festivals. Show all posts

Friday, 22 August 2014

Shazbot and a giveaway

One of the best things for me - beating off stiff competition - about being at a music festival, is seeing all the different t-shirts people wear. Funny or serious, new bands, old or obscure ones, it's like the culture department of people's brains walking towards you. 

Trending at Glastonbury this year were Breaking Bad t-shirts, especially this one: 


And it got me thinking about drawing and how, mixed with a t-shirt, there's really no better way to say what you want to say.

Someone doing this brilliantly at the moment is my friend Simeon with his Black Score t-shirt label. I'm lucky to own this beauty:


And this one, which came along with me to Glastonbury and everywhere else I've been this summer:


I love it so much. 

My brother and I used to have a VHS tape of 'Robin Williams Live at the Met' and we would watch it until we were crying and sore from laughing and the tape broke. 

We didn't understand everything, but we didn't need to. He was just so funny. Like the essence of funny. We'd try and do Mork's hand sign with our small hands. My brother could always do it better than me. He could also swim like the Man from Atlantis.


Thinking about all this, I made some drawings. It felt so good to sit quietly and draw. I thought a lot about this article.


From the drawings, I did this on a spare babygro I had lying around with a Sharpie (a textile one for marking laundry):


The best way to do this is to make a screen and screen print it - you can get any effect you want that way - but for quick and dirty printing, it doesn't look too bad does it?


I don't know any 0-3 month babies at the moment so if anyone wants it drop me a line and it's yours. Leave a comment or email me.


Monday, 23 June 2014

Glastonbury top

I have been sewing like a woman possessed lately. I don't really know why, perhaps the seasonality of certain crafts (wool based = winter, sewing = summer). Whatever the reason: if there is sewing funk I have been giving it up. 


I made this top with my upcoming trip to Glastonbury (whoop whoop, first time after an eight year hiatus) in mind. I chose the fabric because it was full of things you might find there. I had a search around for simple sleeveless patterns and found this one bought from an Etsy seller:


Let's hope it's not buried under a cagoule the whole time. Please.

I also made two of these simple blouses for work.


The little patch of Liberty fabric is quite dear to me as it is the same as a dress and bloomers my Granny made me when I was tiny.


I made the second one a bit longer, more a tunic length to go over skinny jeans. 


You basically cut out the front and the back, and sew them together. Add some bias binding and that's it. I decided to add the asymmetric panel because I felt that's what David Bowie would do if he made blouses for his job as an art teacher. And I try to think of what David Bowie would do every day.

More to come, but for now I'm off, off to where the ley lines meet, the kids will be at my mum's... if you see me say hello!


Thursday, 30 June 2011

Laptop case

Well, this is a strange post to write. I lovingly made this case for one of the most important things in my life, the recipient of hours of my time and waking thoughts: my dear laptop. 


The second most expensive thing I have ever bought even with the staff discount my friend got me. But my word, it was worth it. I decided to make it a cover as I simply could not bear the thought of any little blemishes on its perfect body.


I made it a couple of weeks ago but did not have a chance to write a post about it. Since then we have been parted. And things have changed. I have been on holiday, camping and travelling and have not had time for my sweetheart. It has been so nice to get sun baked, eat a lot of sausages, drink surprisingly potent hot chocolate and sleep under nothing but stars and canvas. And be unplugged.


So it feels odd to be writing this ode to my laptop now. I know it is only temporary, an evening or two and we'll rediscover our spark. We just need time.


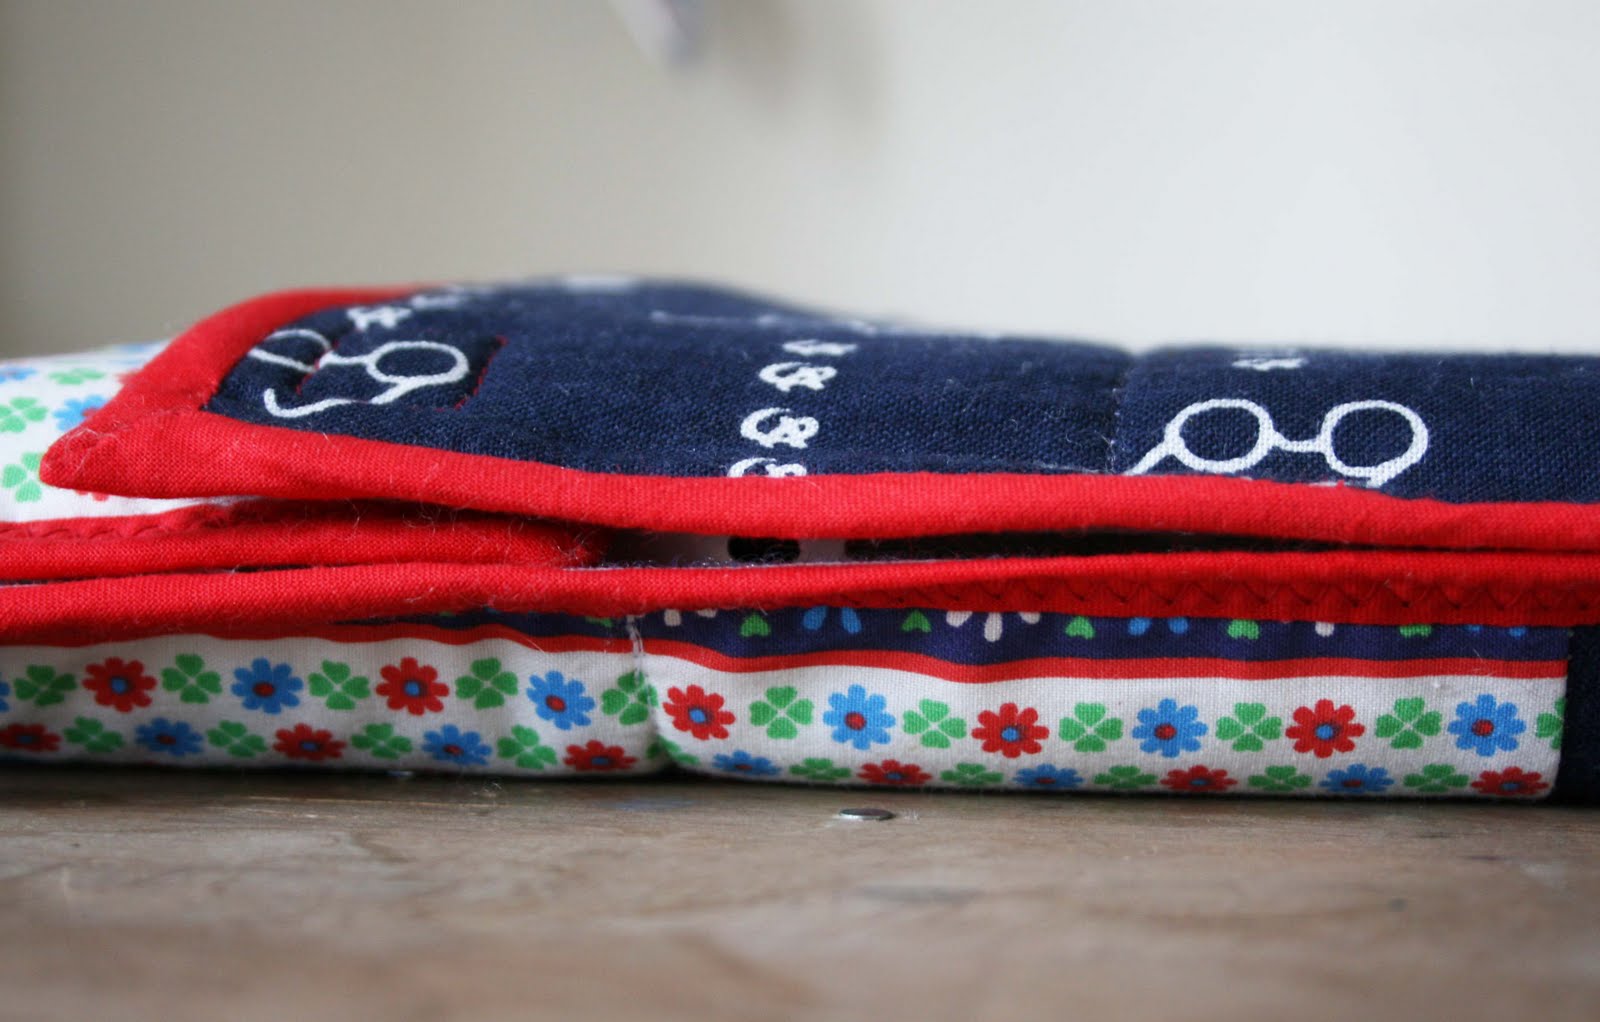
To make the cover I used this tenugui from Japan. I love the way it has been dyed, the thick softness of the cotton and the deep beautiful blue. I also thought the glasses print had a great studious, ocular feel. 


It was not big enough so I added some more cotton from my stash. The floral print came from here and worked perfectly. I used some old curtain lining for the padding, the really thick kind, essentially a plain blanket. This gave the cover enough padding and protection.


To finish it off I sewed the whole together and used red bias binding for the edges. For once I used the invisible hand sewing technique for binding, and I loved it. I had forgotten what a lovely way hand sewing is to spend a few minutes of your life. I did it the way shown in  sewing books: you sew it back to front on the machine on one side, then flip it over and use tiny invisible hand stitches on the other side.


Amy Karol has a great tutorial for the all machine way here, if the project had been any bigger I would have used that method.

Some well-placed velcro, a few zig zag stitches and it was done. What would have been great is if I had used red velcro, but there just wasn't the time.


But for now I am feeling happily analogue, grimy and brown. 


As long as I ignore the perfect storm of dirty washing, unpacking, empty fridge and tired children brewing downstairs.


Monday, 13 December 2010

Bi-festival decorations

I am very happy to say that my blog has been featured in one of my favourite design and craft blogs. On the main page of Bloesem today you can see this very post. Thanks Irene!


Here in our own little melting pot the festivities are underway. Like so many Londoners we celebrate two festivals: Hanukkah from my side of the family, Christmas from Mr Year's. Two excuses for lights, presents, feasts and fried stuff. And of course handmade goodness.


The beautiful scene above the shop last week as Hanukkah ended...


...and today as I got the tree (still alive, just a bit bald) out from the garden:


The crochet snowflakes and mushrooms are very quick and very easy. The cotton reels are old wooden ones that I have saved. The owl is from Caravan in Shoreditch, east London and the things on our mantlepiece are treasures (painting by  my grandad, Miss Piggy car from my 70s childhood, ceramic cube clock from Brussels flea market, vase and coffee pots from here and there, the Sherlock Holmes face complete with moving quizzical eyebrow I made in woodwork aged 11. Oh yes) made and found.

If you feel so inspired to make your own - and you really don't need to be an expert crocheter - please find tutorials for the snowflakes and mushrooms below. Do let me know how you get on.


Crochet mushroom pattern
You will need:
Red wool (can be any kind really, even acrylic is fine)
White wool
Knitter's sewing needle
Any size crochet hook
Old tights or clothes to cut up for stuffing

This pattern is worked in the round. The size of your mushroom will come out depending on the size of your hook ie. large hooks make a big fungi, small make a small. You might find it helpful to add a little marker at the beginning of each row to keep track of where you are.

row 1  (white yarn) chain 6 stitches and slip stitch to the first stitch to make a circle.
row 2  chain 1, double crochet (dc, US triple crochet) 1 into each stitch: 6 dc
row 3  ch 1, 6 dc
row 4  ch 1, 6 dc
row 5  (add red yarn) ch 1, 6 dc
row 6  2 dc into each dc: 12 dc
row 7  alternate your increase as you make 1 dc then 2 dc into each dc so you end up with 18 dc
row 8  dc 2 tog, then 1 dc into next, so you decrease back down to 12 dc
row 9  dc 2 tog all round: 6dc
row 10 6 dc

Then, using a little running stitch, or better still a french knot, do three white spots. Point your needle up through the mushroom to the tip to make a hanging loop. Tie a little knot in the base of the loop to secure it. Sew the end of the white thread through the mushroom to hide it. If you are making bigger mushrooms, pause around row 9 to stuff with fabric scraps.

I made a few of different sizes, sometimes I changed the increase and decrease a little, giving me different shaped mushrooms as shown above. As with most crochet these got quite addictive so I had to stop as it was getting a little out of hand.


Crochet snowflake pattern
You will need:
Any kind of white wool, acrylic or cotton. Mohair would be especially nice.
A medium sized crochet hook (UK 4-7 mm)

You can make these as long or as short as you want. They are a sort of bobble stitch joined by roughly 30 chain stitches. You just keep bobbling then chaining until you can do no more. It is nice to keep the tension loose so don't worry too much if you only have a big hook.

Make a bobble circle like this:
Chain 5 then slip stitch to first chain to form  foundation circle.
Chain 3, yarn over, insert hook through foundation circle, yarn over, hook back through stitch (3 loops on hook), yarn over and pull through 2 loops (2 loops left on hook).
Then yarn over and insert hook through same stitch again, yarn over, hook back through stitch (4 loops on hook), yarn over and pull through 2 loops (3 loops left on hook), yarn over and pull through all 3 loops.

When you have finished the bobble circle, slip stitch to the first stitch to secure the circle then ch 30. Begin the next bobble with the final 5 ch of the 30 chain making the new foundation chain.

If all that leaves you stumped there is a video here:

and a very clear pictorial explanation here:
the bobble circles are the used as the centre of her granny squares.


a year above the shop

a year above the shop