Friday, 26 August 2011

The best dressed nappy shelf in town.

No, this is not the first sign of madness. Really. When I first saw this:


I thought yes, yes, very pretty, but we have only three score years and ten, so I don't have time to crochet a trimming for a shelf.

Turns out I was wrong. Damn that beautiful Japanese styling.


I got a voucher from a dear friend for this lovely place for my birthday. So I bought some wool. And the wool seemed to ask me to make it into this. My new found Japanese skills made it all possible and really quite simple.


Unusually for me, I did not even change the colour combination, I was so smitten.


The cream and blue wool is made from milk fibre and it feels so soft, light and lovely. A real pleasure to hook with.

I blocked it out on a towel wrapped round a board for about three days. Enough time for quite a lot of comments of the questioning my sanity variety. But I don't care, I am used to those.


I used a lot of pins for the blocking and it worked a treat:


There are three other shelves in this room. I hope they are patient.


Very patient.


Monday, 15 August 2011

One piece blouse no.2


This is the second go at the One Piece Kimono Tee. The link from burdastyle is here. It's free! It's easy! Click on it and make a blouse really quickly! The internet is amazing!


This one did take longer than an hour though. I did a bit of fancy footwork, namely using my overlocker to do a bit of gathering on the sleeves. Mmm, that was fun. 


I also added a little button detail at the back of the neck. 


I had planned for this fabric (Liberty Tana lawn, bought as a remnant in the January sale) and these buttons to get together ages ago. I think the black birds (swallows?) cut through the pink nightie vibe a little. 


I again made binding and added it to the sleeves and neck. For these blouses I have been  cutting the binding correctly: actually on the bias. It works beautifully. I have also been sewing them in properly and again, revelation! If you follow instructions, things often turn out well.


Very pleased. Two new cotton blouses and no credit card abuse. I reckon it cost £12 for the pair. 


Perfect wear for this sticky, rainy and dramatic summer.


Monday, 8 August 2011

Dressmaking, after a fashion

I don't really enjoy dressmaking. I find it a bit too dry, endless and technical, and I have never been happy with the end result. I did a pattern-cutting course recently which confirmed all my fears.

I think I have also been scarred by some early precocious attempts at very complicated blouses, a sort of running-before-you-can walk enterprise that always backfires, like reading 'Lolita' aged thirteen and never understanding what the fuss was all about. I did that.

But, but. The temptation is always there: that you can choose a beautiful piece of fabric and make exactly what you want. Easy, right?


This temptation had me earmarking a couple of pieces of fabric for tops, but I still felt uninspired at the thought of the actual making. Searching for patterns did not help, so many or them seem stuck in the eighties - and not even the good, back again eighties - in a really odd way. The only nice ones I could find were in the US and very expensive when imported.


Until...burdastyle.com! You get to pore through pages of garments people have made and make them yourself. And, most of them are free. And, and, they are really nice! Not all of them of course, but a lot of them.


My eye fell on the One Piece Kimono Tee, yes, One Piece. Perfect for a very lazy seamstress. 

And this is the result.


It is supposed to be in cotton jersey but I made it in cotton to give it a bit more shape and structure.

And it was a doddle. You could make this in an hour, honestly truly. This one was supposed to be the experimental attempt but I liked it so much I decided to keep it. I made some bias binding in the gingham and put it round the neck and sleeves, just to give it a bit more.


I just overlocked the raw edges - non-essential - and then sewed from underarm to waist. Amazing. It didn't even hurt. I am going to make a few more and am already thinking of how I could adapt it.


Thursday, 28 July 2011

Snug as a bug in a rug

Ages ago now, we inherited a mini bed with mini quilts to match, for when daughter no.1 graduated from her cot. It is so handy having a sister-in-law with slightly older children. 


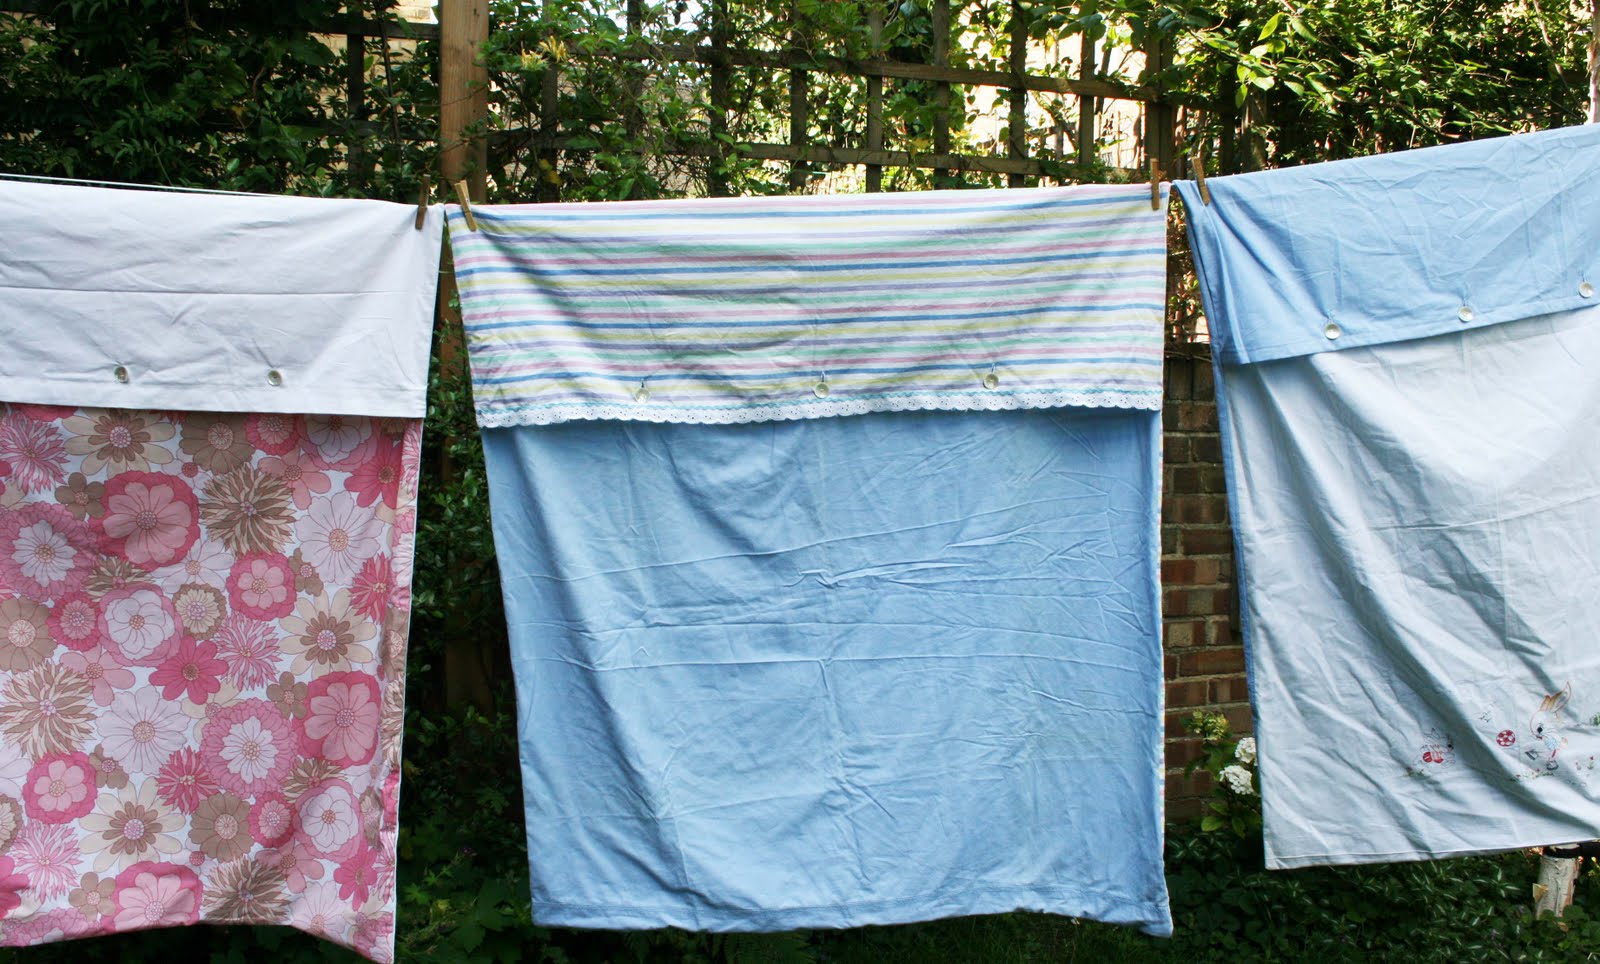
She made the big journey from cot to bed over a year ago now, and I wanted to make quilt covers to mark the occasion. Better late than never. 


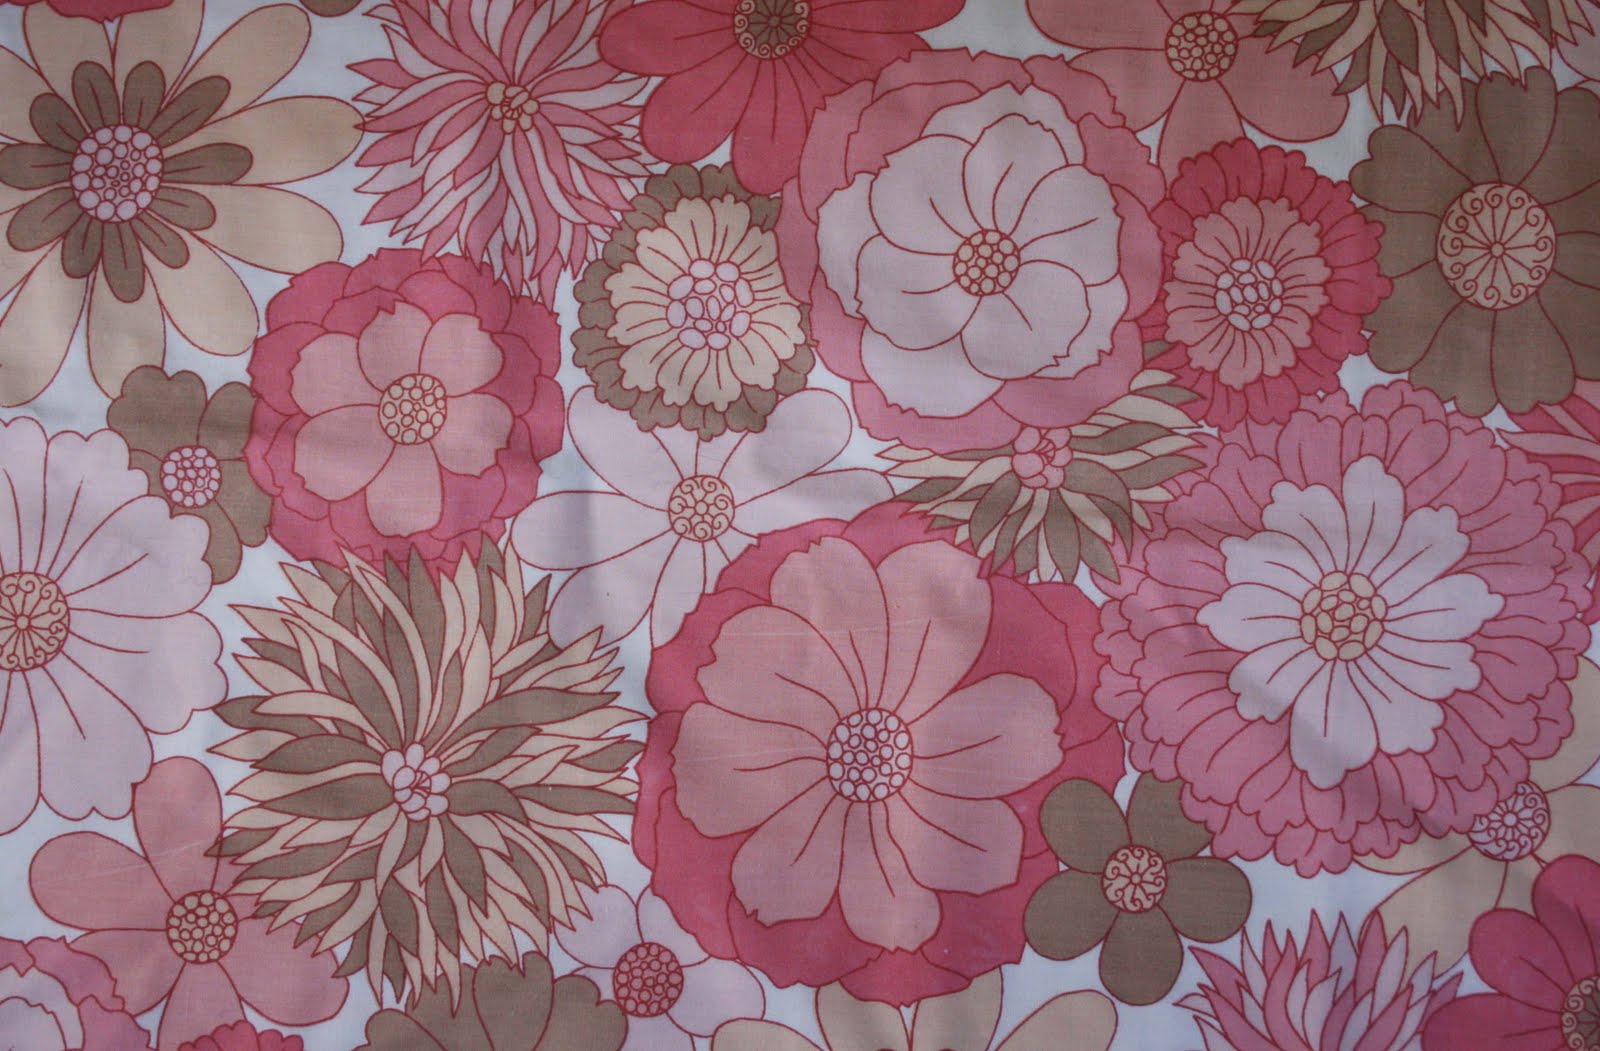
I reused old sheets for the ever-winning combination of being cheaper/pre-softened/lower consumption/umm...just nicer. My collection built up slowly but surely, coming from a mixture of my mum's airing cupboard, Spitalfields market, my Granny's old sheets and Ilford Oxfam shop. Nice.


I cut one sheet the same size as the quilt with a seam allowance all the way round. The second sheet was the same width, but with an extra 40 cms or so to make a nice flap. I sewed them right sides together with the longer flap folded over in the middle. This simple-yet-complicated bit of sewing made my mind go completely blank for a bit and I had to stare at it until it made sense. There are lots of tutorials about this on the net but I like Amy Karol's one best. It is for a bag but it is essentially the same principle. 


To finish off I added some buttons to hold it all together. My trusty old Toyota struggles with buttonholes but luckily, my friend Kate has an amazing new sewing machine. My word, that thing is amazing: automatic tension, speed control, you basically just drink a glass of wine with your foot on the pedal and some buttonholes appear. At least that is what I did. 


It was all very much like the sewing machine scene in 'Fiddler on the Roof' where the whole village gathers around to marvel at the new invention. I couldn't find  clip of it on YouTube. But I did find this. Next time I sew I'll know what to sing.


Three of the four quilt covers
The fourth. That stain is Marmite.


Monday, 18 July 2011

Sewing Cards

We have been doing a lot of travelling lately, which I love. A lot of it has been in the car, which I do not love at all. 


I have the demanding jobs of waitress/DJ/navigator to keep me busy, and crochet if I am very lucky. But my older daughter is starting to get so bored on these journeys and very cutely asked if she could crochet too. Now, like most mothers I am convinced of her genius, but even she might struggle with crochet at 3-and-a-half. 

What could she do on long car rides? It had to be something yarn-based. I remembered the cards we used to practice sewing on at school before we were allowed to graduate onto binca. Amanda Blake Soule in her 'Creative Family' also talked about them.

So we got drawing. She drew a picture:


A house on a hill.
And I did one:


The household goddess.
Then we did a couple together:


We drew onto card, which I then backed with another layer of card. I then punched around the edges with a hole-punch. It would be nice to make the holes smaller eventually using a paper punch, but for now bigger holes and bigger needles suit these little hands fine. 


I backed one with sticky-back plastic and this made it much stronger. 


Look what happened to the non-plastic backed one:


After some emergency porcine surgery I have learned the following for successful sewing cards:
  • try to keep the outline of your cards relatively simple, no little limbs or parts that can break off.
  • plastic on both back and front means that the edges are sealed off and will not fray.
  • it also strengthens the card so that a cereal box-thickness piece of card is adequate.
New improved Peppa
A big plastic wool needle helps too, then you can give it to a child to sew away to their heart's content. Be prepared for lots of 'I'm stuck', but I was pleasantly surprised how long a little heart can stay contented for.


Friday, 8 July 2011

printing


As I mentioned before in this post, I have been so enjoying Christine Schmidt's 'Print Workshop' book. This is another step in my recent printmaking odyssey.

I realised there was a printmaking-shaped gap in my knowledge and experience. To that end, I did a course here in etching, which was pricey but great. Then a longer one here in all kinds of printmaking (I was pregnant at the time so could unfortunately not do some of the more noxious processes), and that was fantastic. Recently, I did a screenprinting day here and loved it. This was the result:


My own personal Pink Floyd cover. I believe this kind of recursive image is known as the Droste effect. Thank you wikipedia.

I think what I love so much about printmaking is that although the end product is your basic, flat picture, the process is more akin to craft. Very handmade, very technical and precise, and best of all, very imperfect. The etching process was like stepping back in time, I loved it. All that burning, burnishing, and smoking with a taper. Gorgeous.


One of the projects in 'Print Workshop' is to make linocut personalised stationary. On the rare occasions I do send things through the post, I find it depressing to scrawl something on a bit of scrap paper, so I thought I'd have a go.


Great. I must be a sucker for punishment as lettering is so tricky to get right, mirror image, small space and so on, but hey, if it is meant as a letterhead, what can you do? The 'G' is a bit of a dog's dinner, but otherwise I am quite pleased with the result. 

I worked on the kitchen table and it was lovely. I had precisely 37 minutes for the printing part whilst two babies slept - only one was mine - and it was a good reminder of how quickly you can crank them out. 


Very satisfying to see them all hanging out to dry.


I can't decide whether or not to crop off the bits at the top, I like their rawness but am not sure my bank would. Although, I can't honestly see myself wasting these on the bank.


a year above the shop

a year above the shop